This post gives a brief overview of how to get the OSINT tool Hunch.Ly up and running.
After downloading and installing Hunchly, here are the first basic steps to getting started so that it maintains a record of your Internet research.
bc1q34aq5drpuwy3wg191hup9892qp6svr81dzyy7c
First, click on the extension

Then when this window opens click on Dashboard

Create a new case, when the dashboard pops up click on the top left settings symbol and then click on New Case
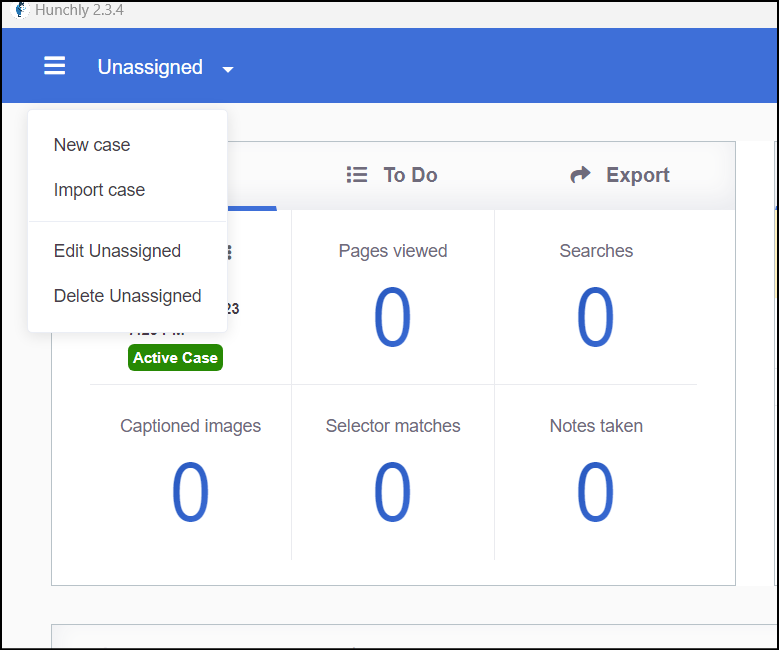
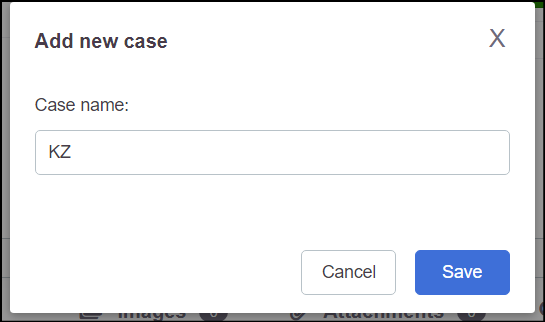
Give it a name and click save
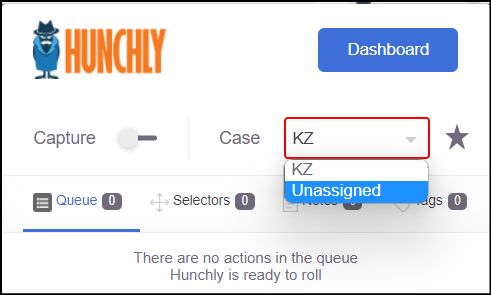
go back to the browser, click on the extension and then choose the case from the case drop down menu. Then turn on Capture.
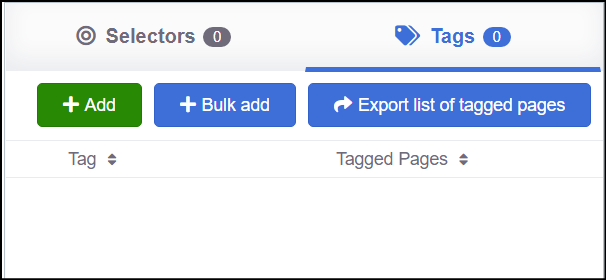
go back to the dashboard and click on Tags, Add, and then name a tag for pages you want to keep track of that have a certain topic, such as “social media”. Then whenever you browse to a webpage you want to categorize as social media, click on the extension button in your browser, look up Tags, and click on Social Media
Then, we conduct some brief browsing and Internet searches for an example case. After this, open the dashboard again and we see the following.
Under our case KZ we see that 24 pages have been viewed and 5 basic google searches were conducted. Under the History section, there is a downloaded copy of each webpage we viewed so that we have a record of each without needing to return to the actual webpage.
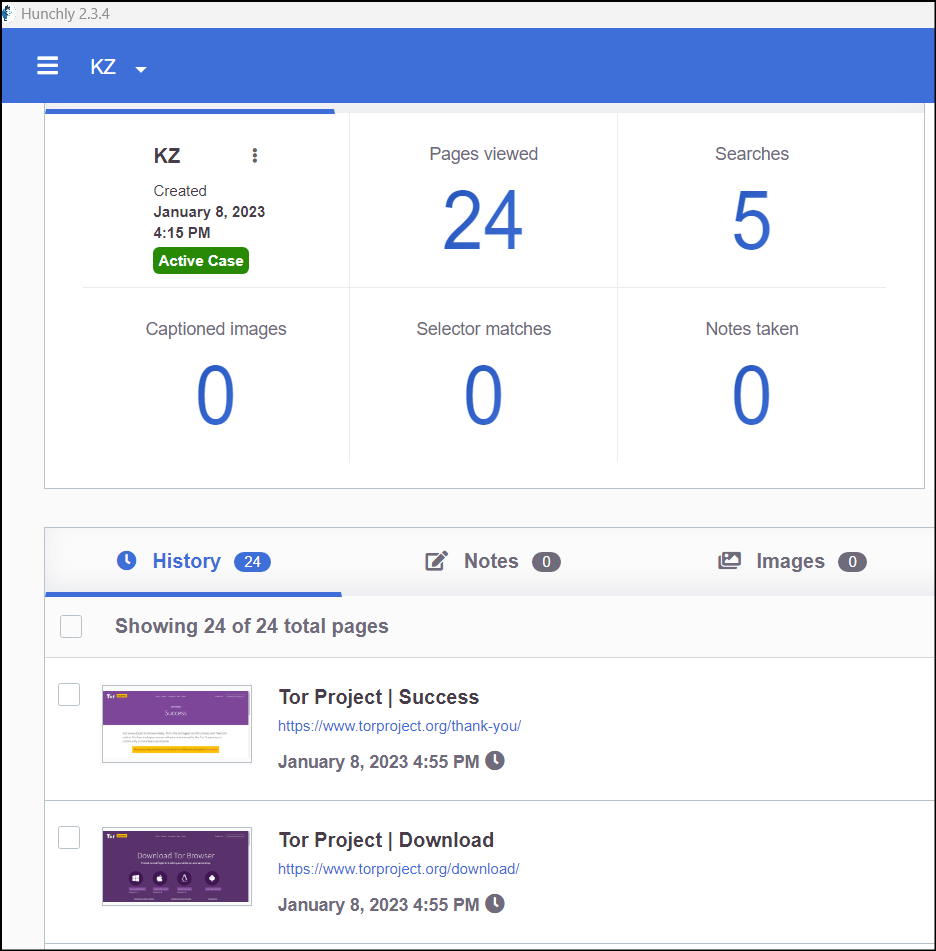
Now we have officially used Hunchly to build and maintain a record of our OSINT research.
Additional Feature: Data Section
Hunchly parses the captured webpages for any reference of Onion URLs (both versions 2 and 3). If there are any, those will be listed in the Data section. Those onion URLs may or may not be active.
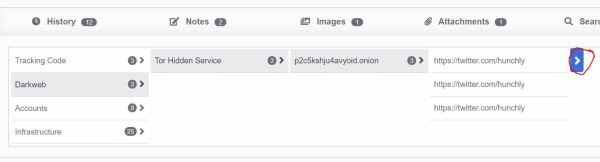
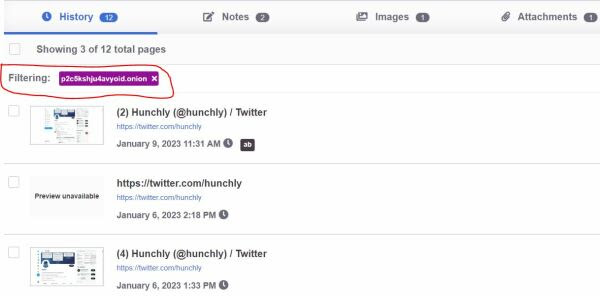
Clicking on the “Apply as filter” on the Hunchly dashboard’s Data tab will list the pages where those onion URLs were found. Please refer to the screenshot below:
Email and Social Media
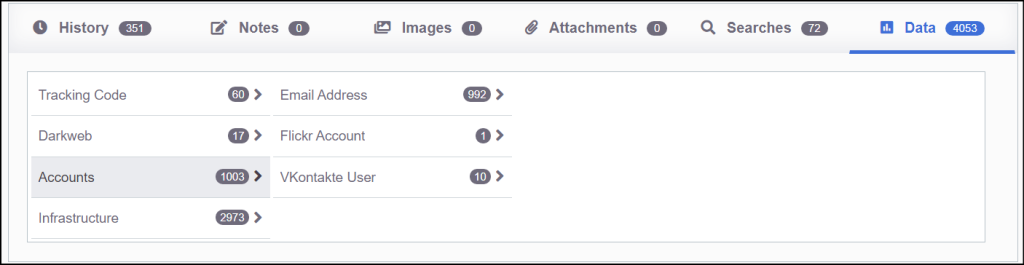
Email and social media accounts are also parsed and presented in the Data section under the subsection Accounts. The Accounts includes email addresses and social media accounts. This often included email addresses you did not see when viewing a given page, possibly pulled from the webpage’s coding. The screenshot above shows accounts that were pulled. If you drill down to the individual accounts, you can click on one and the Hunchly dashboard will filter your history of webpages to show you only the ones that included the account in question.
That’s it!

One thought on “Hunch.ly Basics”